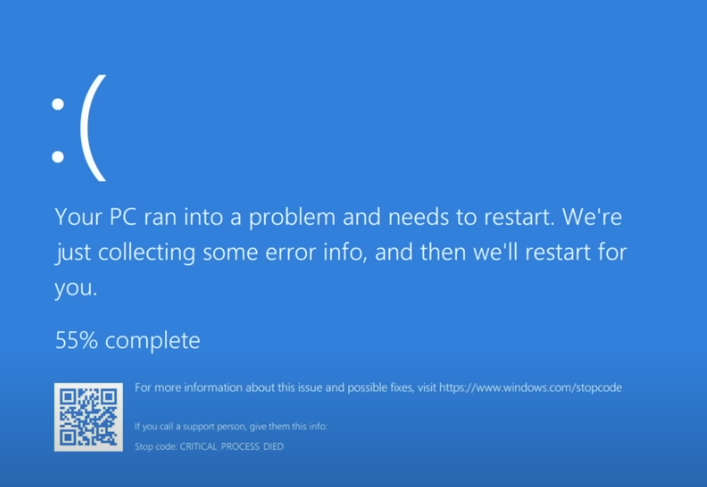
If you are seeing the following July 2024 Windows error, follow the following steps or call for fixed price services:
Approach 1: Manually Deleting the Channel file (“C-00000291*.sys”)
Step1: Boot into Safe Mode or Windows Recovery Environment (WRE):
There are two primary ways to enter Safe Mode or Windows Recovery Environment (WRE) in Windows 10:
Method 1: Using Shift and Restart
This method works for most situations and allows you to choose between different Safe Mode options.
- Open the Start Menu: Click on the Windows icon in the bottom left corner of your screen.
- Click the Power Button: In the Start Menu, locate the power button icon.
- Hold Shift and Click Restart: Hold down the “Shift” key on your keyboard and click on the “Restart” option within the power menu.
This will trigger a restart with additional boot options.
- Choose Troubleshoot: On the “Choose an option” screen, select “Troubleshoot”.
- Navigate to Startup Settings: In the Troubleshoot menu, click on “Advanced options” and then “Startup Settings”.
- Restart with More Options: Click the “Restart” button to reboot your PC with startup options available.
- Choose Your Safe Mode: Upon restart, you’ll see a list of boot options with corresponding function keys (F1-F12). Here are some common Safe Mode options:
- Enable Safe Mode (F4): This is the basic Safe Mode with minimal drivers and programs loaded.
- Enable Safe Mode with Networking (F5): This option allows you to access the internet while in Safe Mode, useful for troubleshooting network-related issues.
- Enable Safe Mode with Command Prompt (F6): This boots Safe Mode with a command prompt instead of the standard graphical interface, useful for advanced troubleshooting.
Method 2: Using Advanced Startup with Settings App
This method offers a more streamlined approach but requires your PC to be able to boot into Windows normally.
- Open Settings: Click on the Start Menu and select the gear icon to access Settings.
- Update & Security: Navigate to “Update & Security” from the Settings options.
- Recovery: In the left-hand pane of the Update & Security window, click on “Recovery”.
- Advanced Startup: Under the “Advanced startup” heading, click the “Restart now” button.
This will restart your PC and launch the “Choose an option” screen.
- Follow Steps 4-7 from Method 1: From this point, the process continues the same as Method 1, starting with selecting “Troubleshoot” and following the prompts to choose your desired Safe Mode option.
Entering Windows Recovery Environment (WRE):
While Safe Mode allows troubleshooting within Windows, WRE provides a broader set of recovery tools. Here’s how to access it:
- Follow Steps 1-3 from Method 1 or 2: Follow the same initial steps to access the “Advanced Startup” options screen.
- Choose Advanced Options: On the “Choose an option” screen, select “Advanced options” instead of “Troubleshoot”.
This will bring you directly to the Windows Recovery Environment, where you can access various recovery tools like System Restore, System Image Recovery, and Command Prompt.
Step 2: Navigation to the file:
Once in Safe Mode/WRE, use the File Explorer to go to the following directory:C:\Windows\System32\drivers\CrowdStrike
Step 3: Delete the Faulty Channel File:
Look for a file named “C-00000291.sys” (the asterisk represents wildcard characters). Delete this specific file after investigating the following:
- Channel file “C-00000291*.sys” with timestamp of 0527 UTC or later is the reverted (good) version.
- Channel file “C-00000291*.sys” with timestamp of 0409 UTC is the problematic version.
Step 4: Restart your PC:
Reboot your computer normally. This should remove the problematic CrowdStrike file and hopefully resolve the outage.
Approach 2: Disabling the CrowdStrike Driver (Safe Mode)
- Enter Safe Mode: This isolates essential system functions. The exact method might differ based on your device, but here’s a general guideline:
- Hold Shift and Restart: Press and hold the “Shift” key while clicking “Restart” in the Start Menu. This will lead you to a recovery screen.
- Navigate to Startup Settings: Follow the on-screen prompts to choose “Troubleshoot” > “Advanced options” > “Startup Settings” > “Restart”. Your PC will reboot with additional options.
- Enable Safe Mode with Networking: Choose “Enable Safe Mode with Networking” using the corresponding function key (usually F4 or F5).
- Disable CrowdStrike Driver:
- Open Device Manager: Right-click on the Start Menu icon and select “Search”. Type “Device Manager” and open the corresponding result.
- Locate CrowdStrike Driver: Expand the “Security software” section. Find the CrowdStrike driver (often named “csagent.sys”).
- Disable the Driver: Right-click on the driver and select “Disable device”.
- Restart Normally: Reboot your computer normally. This should prevent the CrowdStrike driver from causing the BSOD.
Important Note: Disabling the driver might leave your system vulnerable until a proper fix is released. Only use this method as a temporary solution.
Approach 3: Fixing the July 2024 BSOD with System Restore (Windows 10)
The July 2024 Blue Screen of Death (BSOD) on Windows 10 was caused by a faulty CrowdStrike update. System Restore can help you revert your system to a point before the update, potentially fixing the issue. However, be aware that this process might also revert changes, settings, and installed programs made after that point.
Here’s how to use System Restore in Windows 10:
- Search for System Restore: Click on the Start Menu icon and type “create a restore point”. Click on “Create a restore point” when it appears in the search results.
- Open System Restore: This will open the System Properties window. Click on the button labeled “System Restore”.
- Choose a Restore Point: A new window will list available restore points. Ideally, you want to choose a restore point created before July 19th, 2024 (the day the faulty update likely rolled out).
- Look for Dates: The window will display dates and descriptions for each restore point. Choose the one closest to, but before, July 19th.
- Description Might Help: If the descriptions mention updates or software installations, you can use that information to pick the most relevant restore point.
- Confirm Restore Point: Once you’ve chosen a restore point, click “Next” to confirm your selection.
- Final Confirmation: A final confirmation window will appear. Here, you can see a summary of the chosen restore point. Review it carefully. If you’re sure you want to proceed, click “Finish” to begin the System Restore process.
Important Notes:
- Data Loss Warning: System Restore will revert your system settings and applications to the state they were in at the chosen restore point. Any changes made after that point, including installed programs, downloaded files, and created documents, will be lost. It’s highly recommended to back up any critical data before performing a System Restore.
- Restart Required: After System Restore completes, your computer will automatically restart. This might take some time depending on the complexity of the restore process.
Seeking Help:
If you’re unsure about any step in the process or uncomfortable performing System Restore, seek assistance from our tech professional.